Results 1 to 7 of 7

Thread: first true 2.5 d model using the 3d tools... I still need lots of practice

  1. #1
    Join Date
    Aug 2009
    Location
    Whidbey Island, WA
    Posts
    2,250

    Default my first true 2.5 d model using the 3d tools... I still need lots of practice

    Well, I decided to try my hand at a 3d model. It obviously is a rough model and needs some work, but here's what I came up with and how.

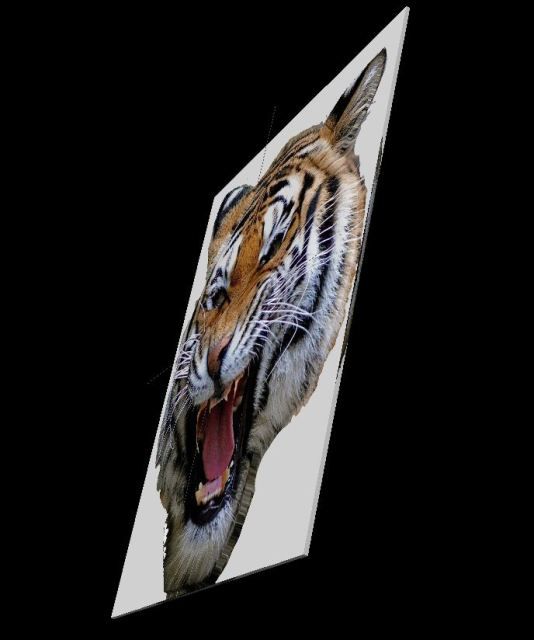
    1. Find a picture.... this one works for me


    2. use a paint type program (I used the free paint.net) to get rid of everything you don't want to carve... you don't have to do this, but I found it easier to work with this way


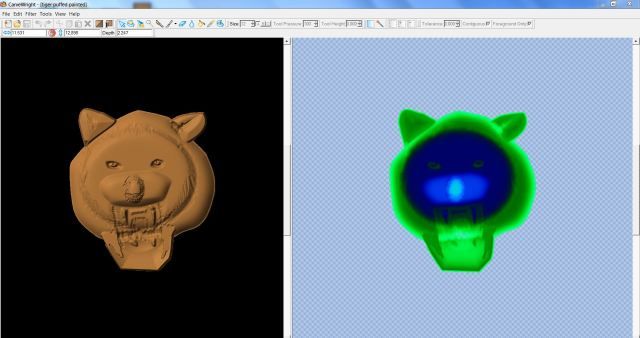
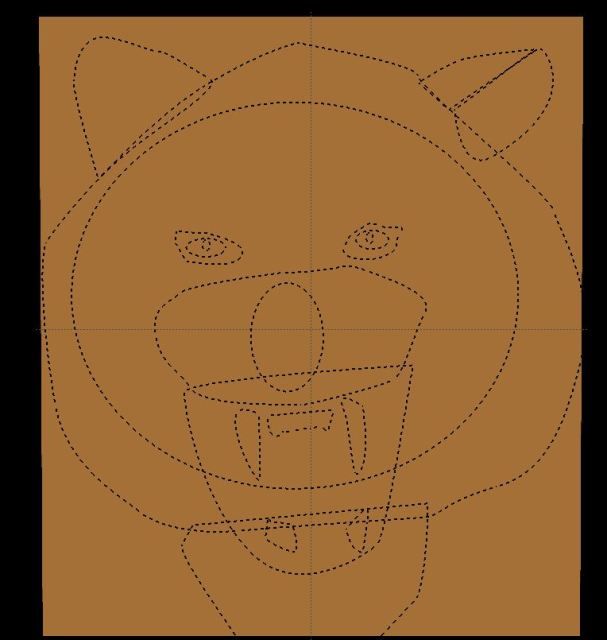
    3. Import a "tracing image" and bring the photo into designer. With the drawing tools, draw around the individual areas that make up the model. You keep toggling back and forth between the picture view and the model view and add puffing with the puffing tools (3d model kit) to get the general effect that you want


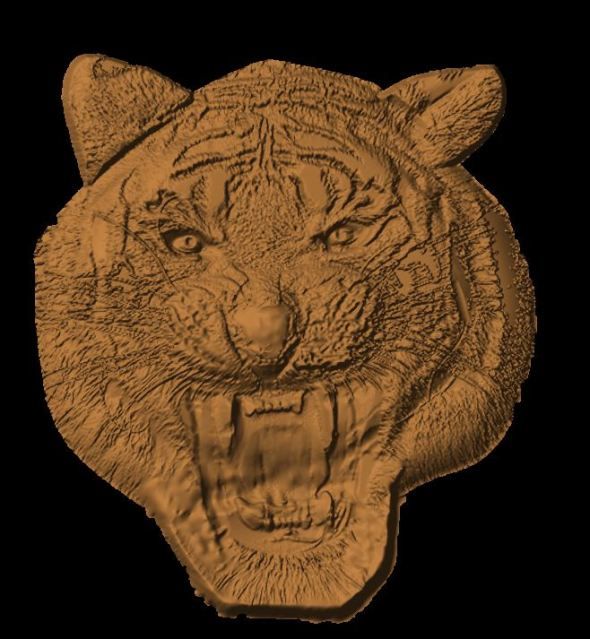
    4. When you are done, you'll have something like this
    Last edited by lawrence; 07-17-2012 at 08:46 AM.

  2. #2
    Join Date
    Aug 2009
    Location
    Whidbey Island, WA
    Posts
    2,250

    Default my first true 2.5d model using the 3d tools

    5. Then save the "model" as a pattern and take it into the pattern editor, where you can smooth, blur, carve, etc to make the model more lifelike then save it as a pattern again. I obviously need to work on the mouth area on this pattern some more, but I just wanted to give y'all the idea.


    6. Bring the pattern (puffed and touched up on designer) into the designer software, then add the image onto the pattern and use "merge additive" to put the details from the picture onto the actual shape that you made with the 3d tools and puffing.


    7. Use as you will as a pattern...


    I know it isn't much.... mostly because I'm really just learning this myself... but if we all pitch in and share our knowledge, we'll have a great new batch of patterns to work with.

    I can't believe how powerful these tools are and am excited at what the future will hold for us all.

    Lawrence
    Last edited by lawrence; 07-17-2012 at 08:46 AM.

  3. #3
    Join Date
    Nov 2007
    Location
    Las Vegas NV
    Posts
    1,267

    Default

    All I can say is WOW that is great
    Leo Davenport
    Enjoy Life Carve Something everyday

  4. #4
    Join Date
    Jan 2009
    Location
    Bonney Lake, Washington, United States, 113160055365328, Bonney Lake, Washington
    Posts
    1,800

    Default

    Nice job Lawrence and I love all the details. Thank you!!
    Tom Watson
    Two CW's and D.C.-Top Mount Insert @ Ringneckblues.com Get the dust out!!
    50" X 48" PDJ Pilot Pro CNC http://www.pdjinc.com

    Check out my Facebook page for current carvings at http://www.facebook.com/signsinwood

    Watsons Wooden Words http://www.signsinwood.com & Messages in Wood http://www.messagesinwood.com/

  5. #5
    Join Date
    Mar 2012
    Location
    Southgate, Mi
    Posts
    1,317

    Default

    That is awesome! I am going to have to sell some blood or something so I can get the new software!

  6. #6
    Join Date
    Oct 2011
    Location
    Suffern, NY
    Posts
    367

    Default

    Very interesting. I can see how combining the original image and the pattern you made with the 3D tools start to show the power that is here. Still gonna have to wait for it go on sale but I'm getting more of an idea of the power here.

  7. #7

    Default

    That looks really cool, I wish they would offer a trial so I can see which 3d program I want to buy, theirs or third party.
    www.cncartguild.com patterns, projects, webinars, instant chat, and more.

Posting Permissions

  • You may not post new threads
  • You may not post replies
  • You may not post attachments
  • You may not edit your posts
  •